
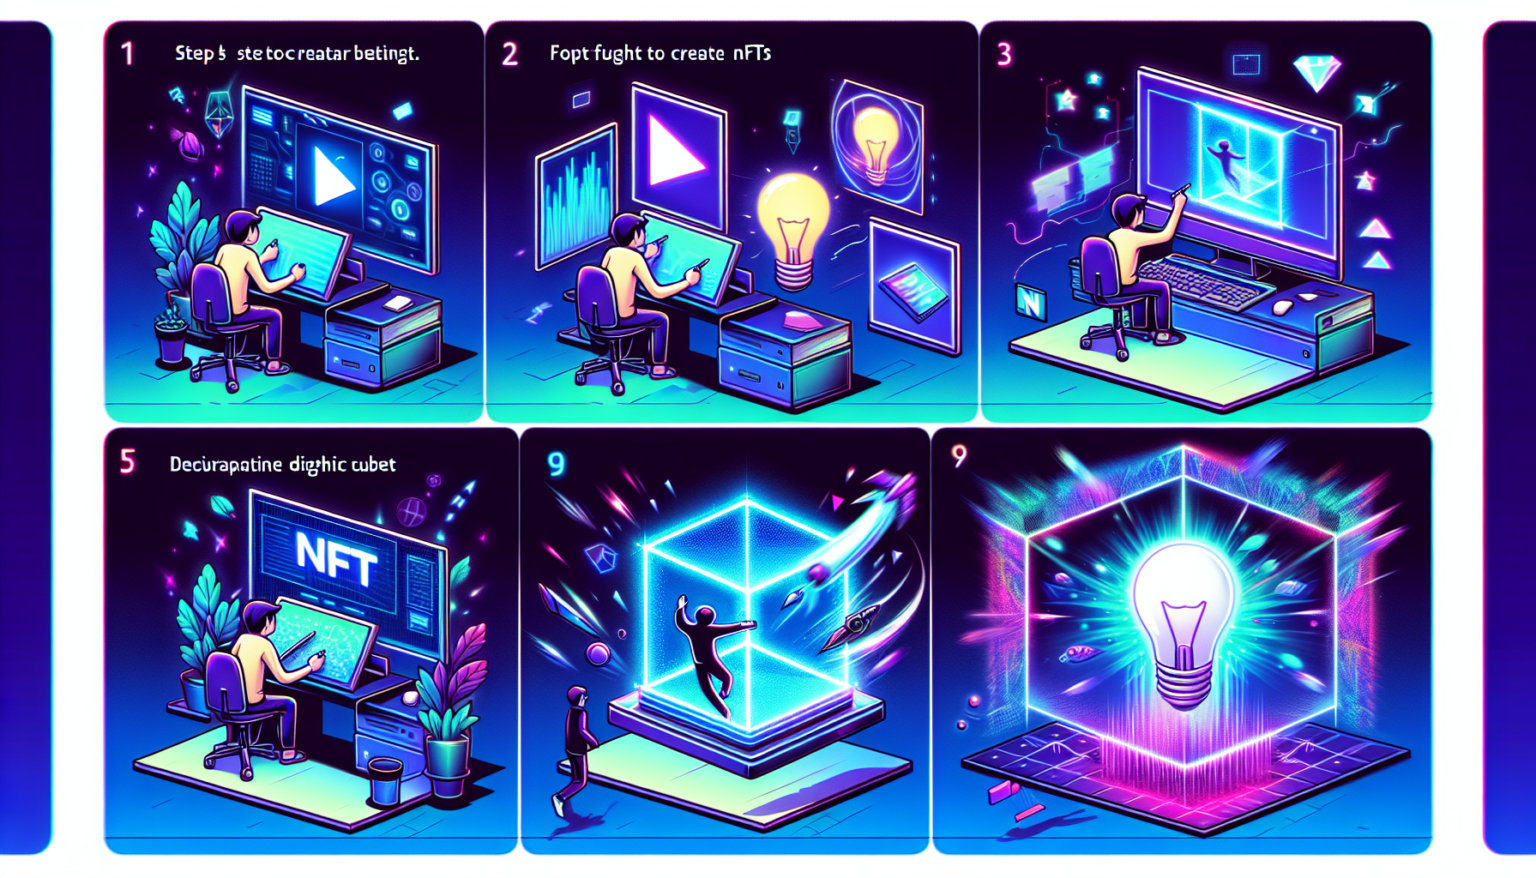
How to Create an NFT: A Step-by-Step Guide for Beginners (2026)
The world of Non-Fungible Tokens (NFTs) has exploded in popularity over the last few years, making it possible for artists, musicians, and creators of all kinds to monetize their digital creations in unprecedented ways. If you’re new to the NFT space and interested in creating your own digital tokens, this step-by-step guide will walk you through the process in 2026.
What is an NFT?
Before diving into the creation process, it’s essential to understand what an NFT is. An NFT is a unique digital asset that represents ownership of a specific item or piece of content on the blockchain. Unlike cryptocurrencies like Bitcoin or Ethereum, which are fungible and can be exchanged one-for-one, NFTs are unique and cannot be exchanged on a one-to-one basis.
Step 1: Understand the Basics of Blockchain and Smart Contracts
NFTs are built on blockchain technology, primarily the Ethereum blockchain. Familiarize yourself with concepts like:
- Blockchain: A decentralized ledger that records all transactions across a network of computers.
- Smart Contracts: Self-executing contracts with the terms of the agreement directly written into code, enabling automatic execution when predefined conditions are met.
Step 2: Choose Your Niche
Determine the type of content you want to create as an NFT. This could include:
- Digital art
- Music and audio files
- Videos
- Collectibles (e.g., trading cards, virtual items)
- Virtual real estate
Choosing your niche is crucial as it defines your target audience and influences how you create and market your NFT.
Step 3: Create Your Digital Asset
Using your preferred tools and software, create your digital asset. Here are some suggestions based on your niche:
- Art: Use graphic design software like Adobe Photoshop, Illustrator, or Procreate.
- Music: Utilize digital audio workstations (DAWs) like Ableton Live, FL Studio, or GarageBand.
- Video: Edit your footage using programs like Adobe Premiere Pro or Final Cut Pro.
Tips for Creation:
- Aim for uniqueness: Create something that stands out in the crowded NFT landscape.
- Consider quality: Ensure your digital asset meets high standards in terms of resolution and audio clarity.
- Define your intellectual property rights: Clarify how ownership of your NFT compares to rights over the asset itself (e.g., usage rights).
Step 4: Set Up a Digital Wallet
To create and sell NFTs, you need a digital wallet compatible with NFTs. Here’s how to set one up:
- Choose a Wallet: Options include MetaMask, Coinbase Wallet, and Trust Wallet. Make sure it supports the Ethereum network.
- Create an Account: Follow the instructions to set up your wallet and secure it with a strong password.
- Buy Ethereum: Most NFTs are sold in Ethereum (ETH), so buy some from an exchange (e.g., Coinbase, Binance) and transfer it to your wallet.
Step 5: Select an NFT Marketplace
Selecting a marketplace is crucial for listing and selling your NFT. Popular NFT marketplaces include:
- OpenSea: One of the largest NFT platforms that support diverse digital assets.
- Rarible: A decentralized marketplace that allows users to create and sell their NFTs.
- Mintable: User-friendly for beginners, offering gas-less minting options.
- Foundation: An invite-only platform targeting digital artists and creators.
Consider factors like audience, fees, and ease of use when choosing your marketplace.
Step 6: Mint Your NFT
Minting refers to the process of converting your digital asset into an NFT on the blockchain. Here’s how to do it:
- Connect Your Wallet: Visit your chosen NFT marketplace and connect your digital wallet.
- Upload Your Digital Asset: Follow the prompts to upload your artwork, music, video, or any content.
- Add Metadata: Fill in details like title, description, and properties (e.g., unlockable content, royalties).
- Choose Royalty Options: Decide if you want to earn royalties from future resales of your NFT.
- Mint the NFT: Confirm the transaction. You’ll need to pay gas fees (transaction fees on the Ethereum network).
Step 7: Promote Your NFT
After minting your NFT, it’s time to market it. Effective promotion can greatly increase your chances of selling your NFT. Here are some strategies:
- Social Media: Utilize platforms like Twitter, Instagram, and TikTok. Engage with your audience and fellow creators.
- NFT Communities: Join platforms like Discord and Reddit to connect with NFT enthusiasts and potential buyers.
- Collaborations: Partner with other creators or influencers to broaden your reach.
- Email Marketing: If you have an existing audience, leverage email to notify them about your new NFT.
Step 8: List and Sell Your NFT
Once you’ve promoted your NFT, list it for sale on your chosen marketplace:
- Set a price: You can choose to sell your NFT at a fixed price, through an auction, or as a bid.
- Confirm your listing: Follow the marketplace instructions to finalize your listing.
Step 9: Manage Your Sale and Interact with Buyers
Monitor your listing and engage with potential buyers. If someone shows interest, respond promptly to questions or inquiries. Show appreciation to your buyers and offer them exclusive content or updates to build a loyal customer base.
Step 10: Embrace Continuous Learning
The NFT space evolves rapidly. Stay informed about trends, technologies, and changes in marketplaces to enhance your skills and adapt your strategy.
Conclusion
Creating an NFT is an exciting journey that opens numerous doors for artists and creators. By understanding the technology, selecting your niche, and following these steps, you can confidently participate in the digital ownership revolution. Remember, perseverance and creativity are your best allies in this evolving marketplace. Happy minting!